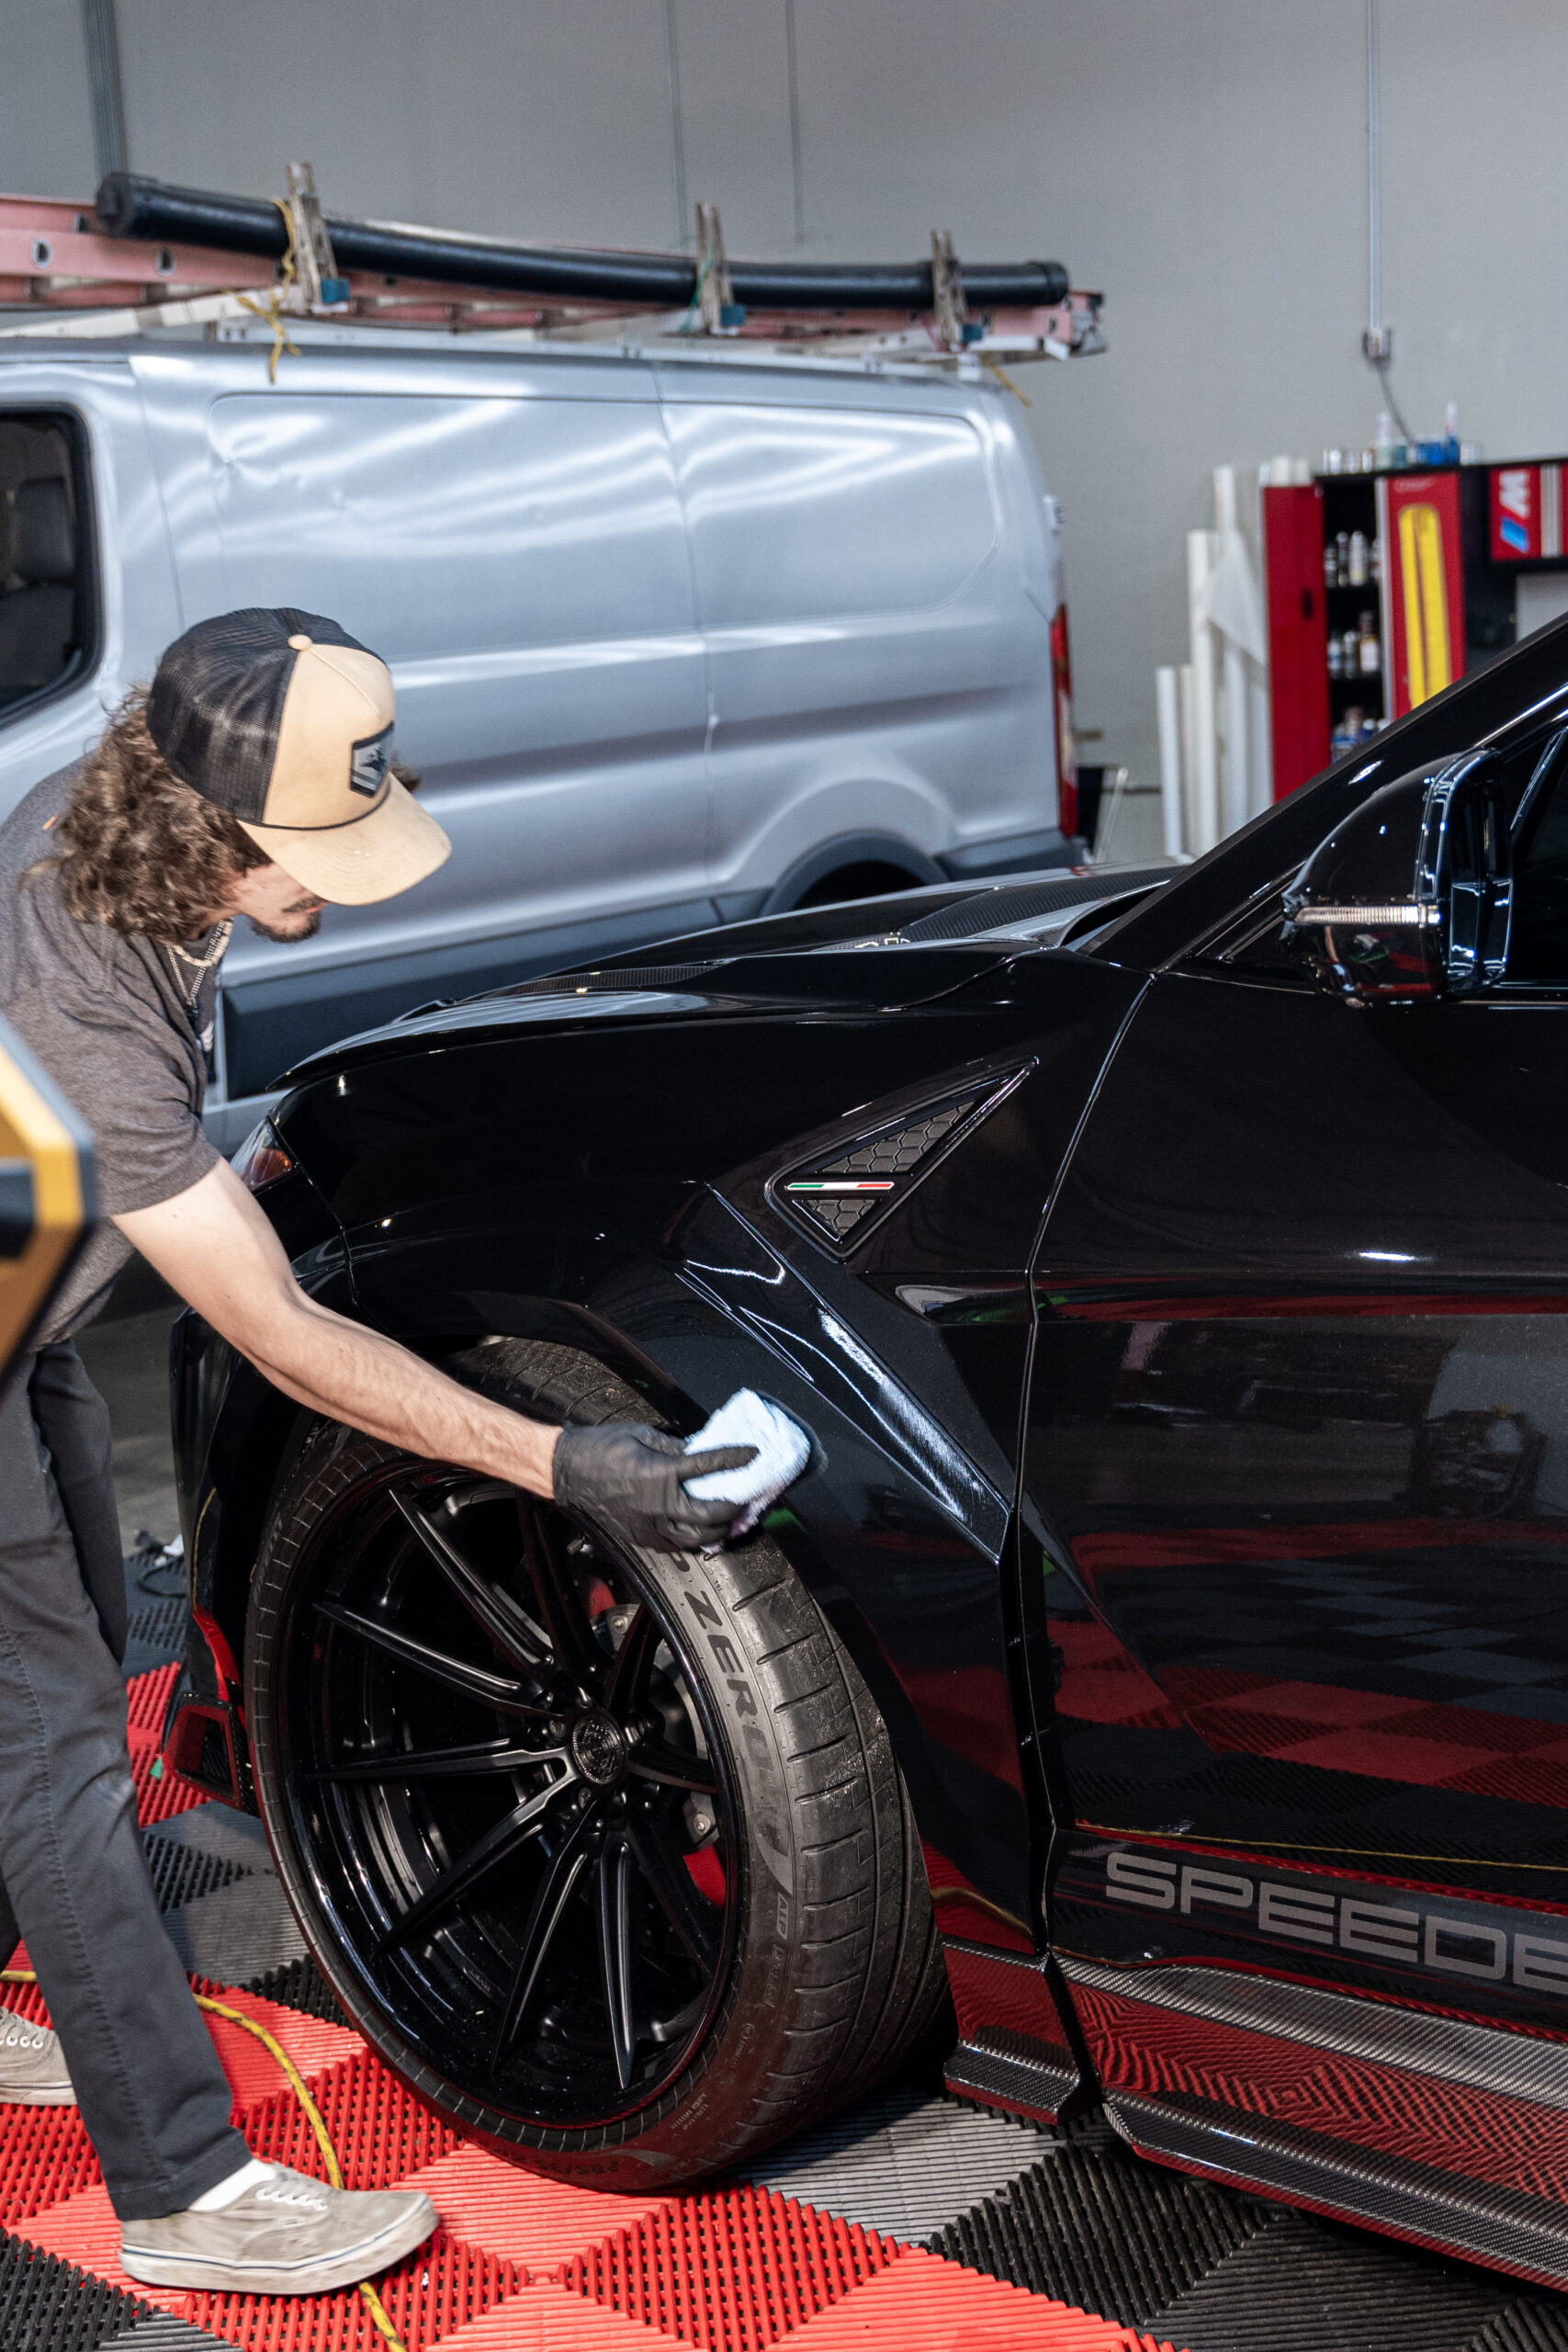
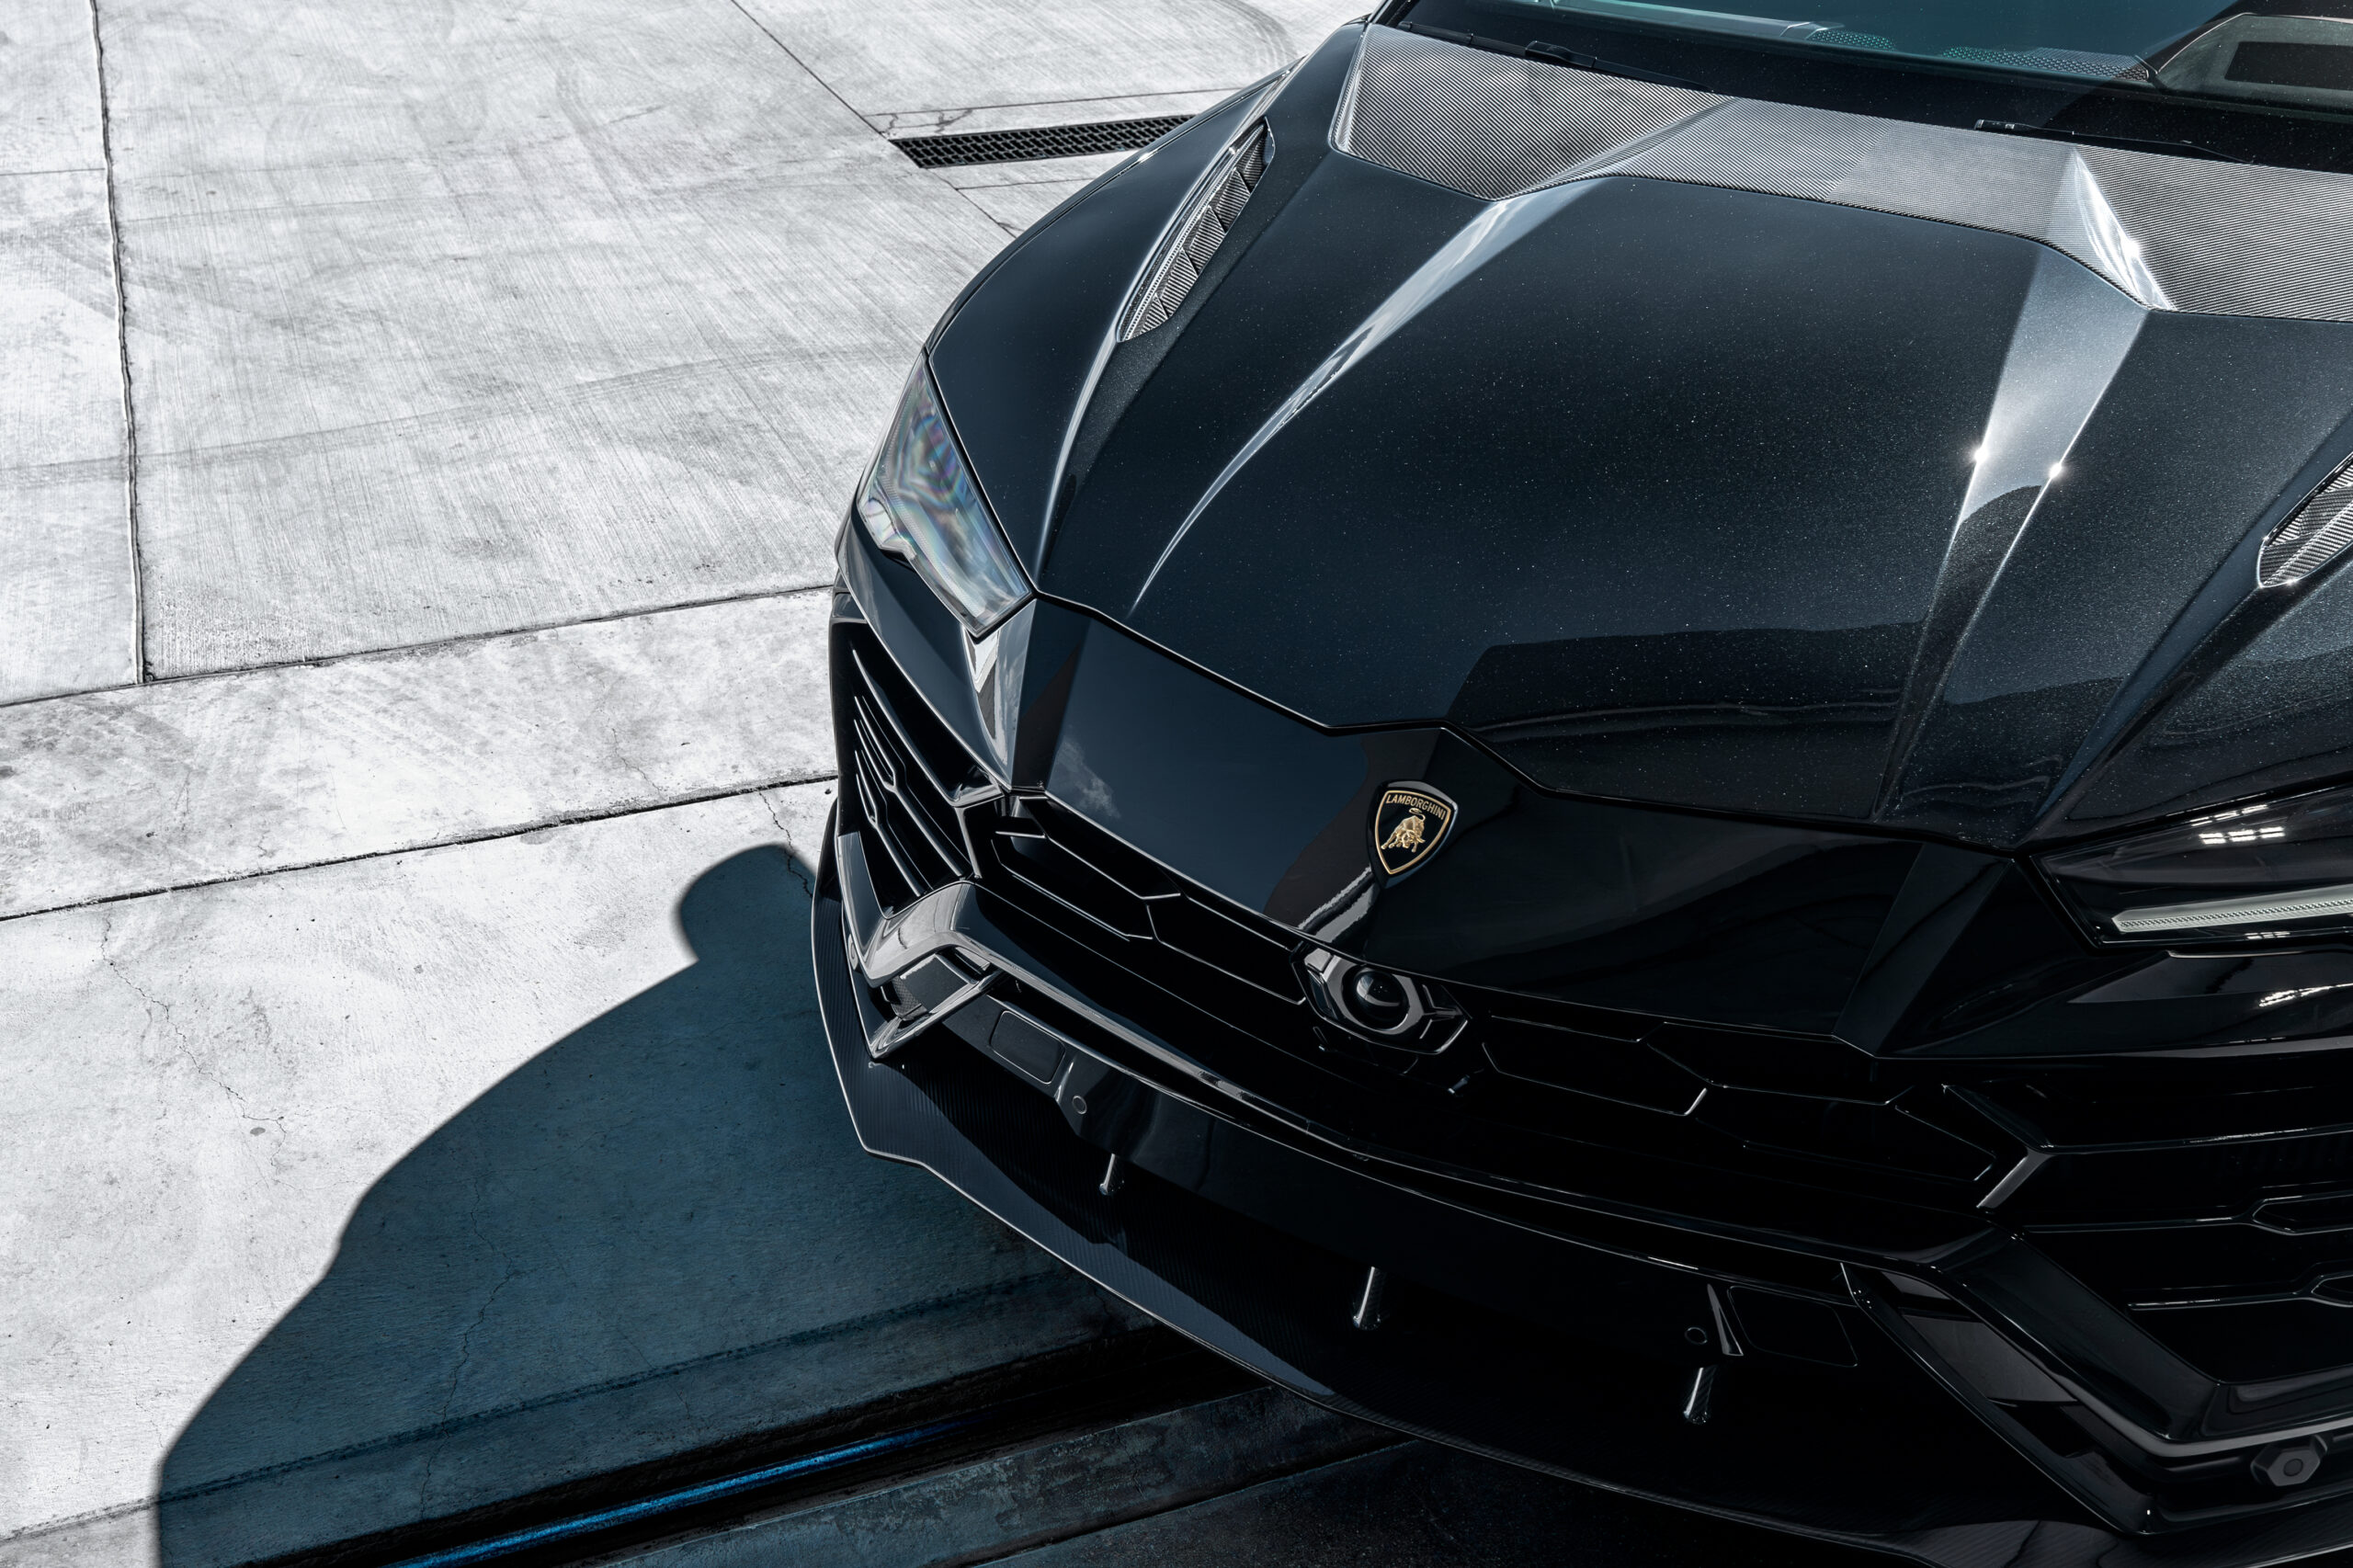
We’ve just wrapped up one of our most exhilarating projects to date—a comprehensive build on a Lamborghini Urus, fully outfitted with cutting-edge upgrades from Ryft. This wasn’t just a tune-up; it was a complete transformation, enhancing both the vehicle’s aesthetics and performance.
Here’s the breakdown of everything we did to this amazing machine:
Step 1: The Widebody Carbon Fiber Upgrade
Our journey began with the installation of a Ryft carbon fiber widebody kit. Known for their meticulous craftsmanship, Ryft provided us with components including a new hood, rear wing, fender flares, rear bumper diffuser, front lip, and side skirts—all crafted from high-quality carbon fiber.
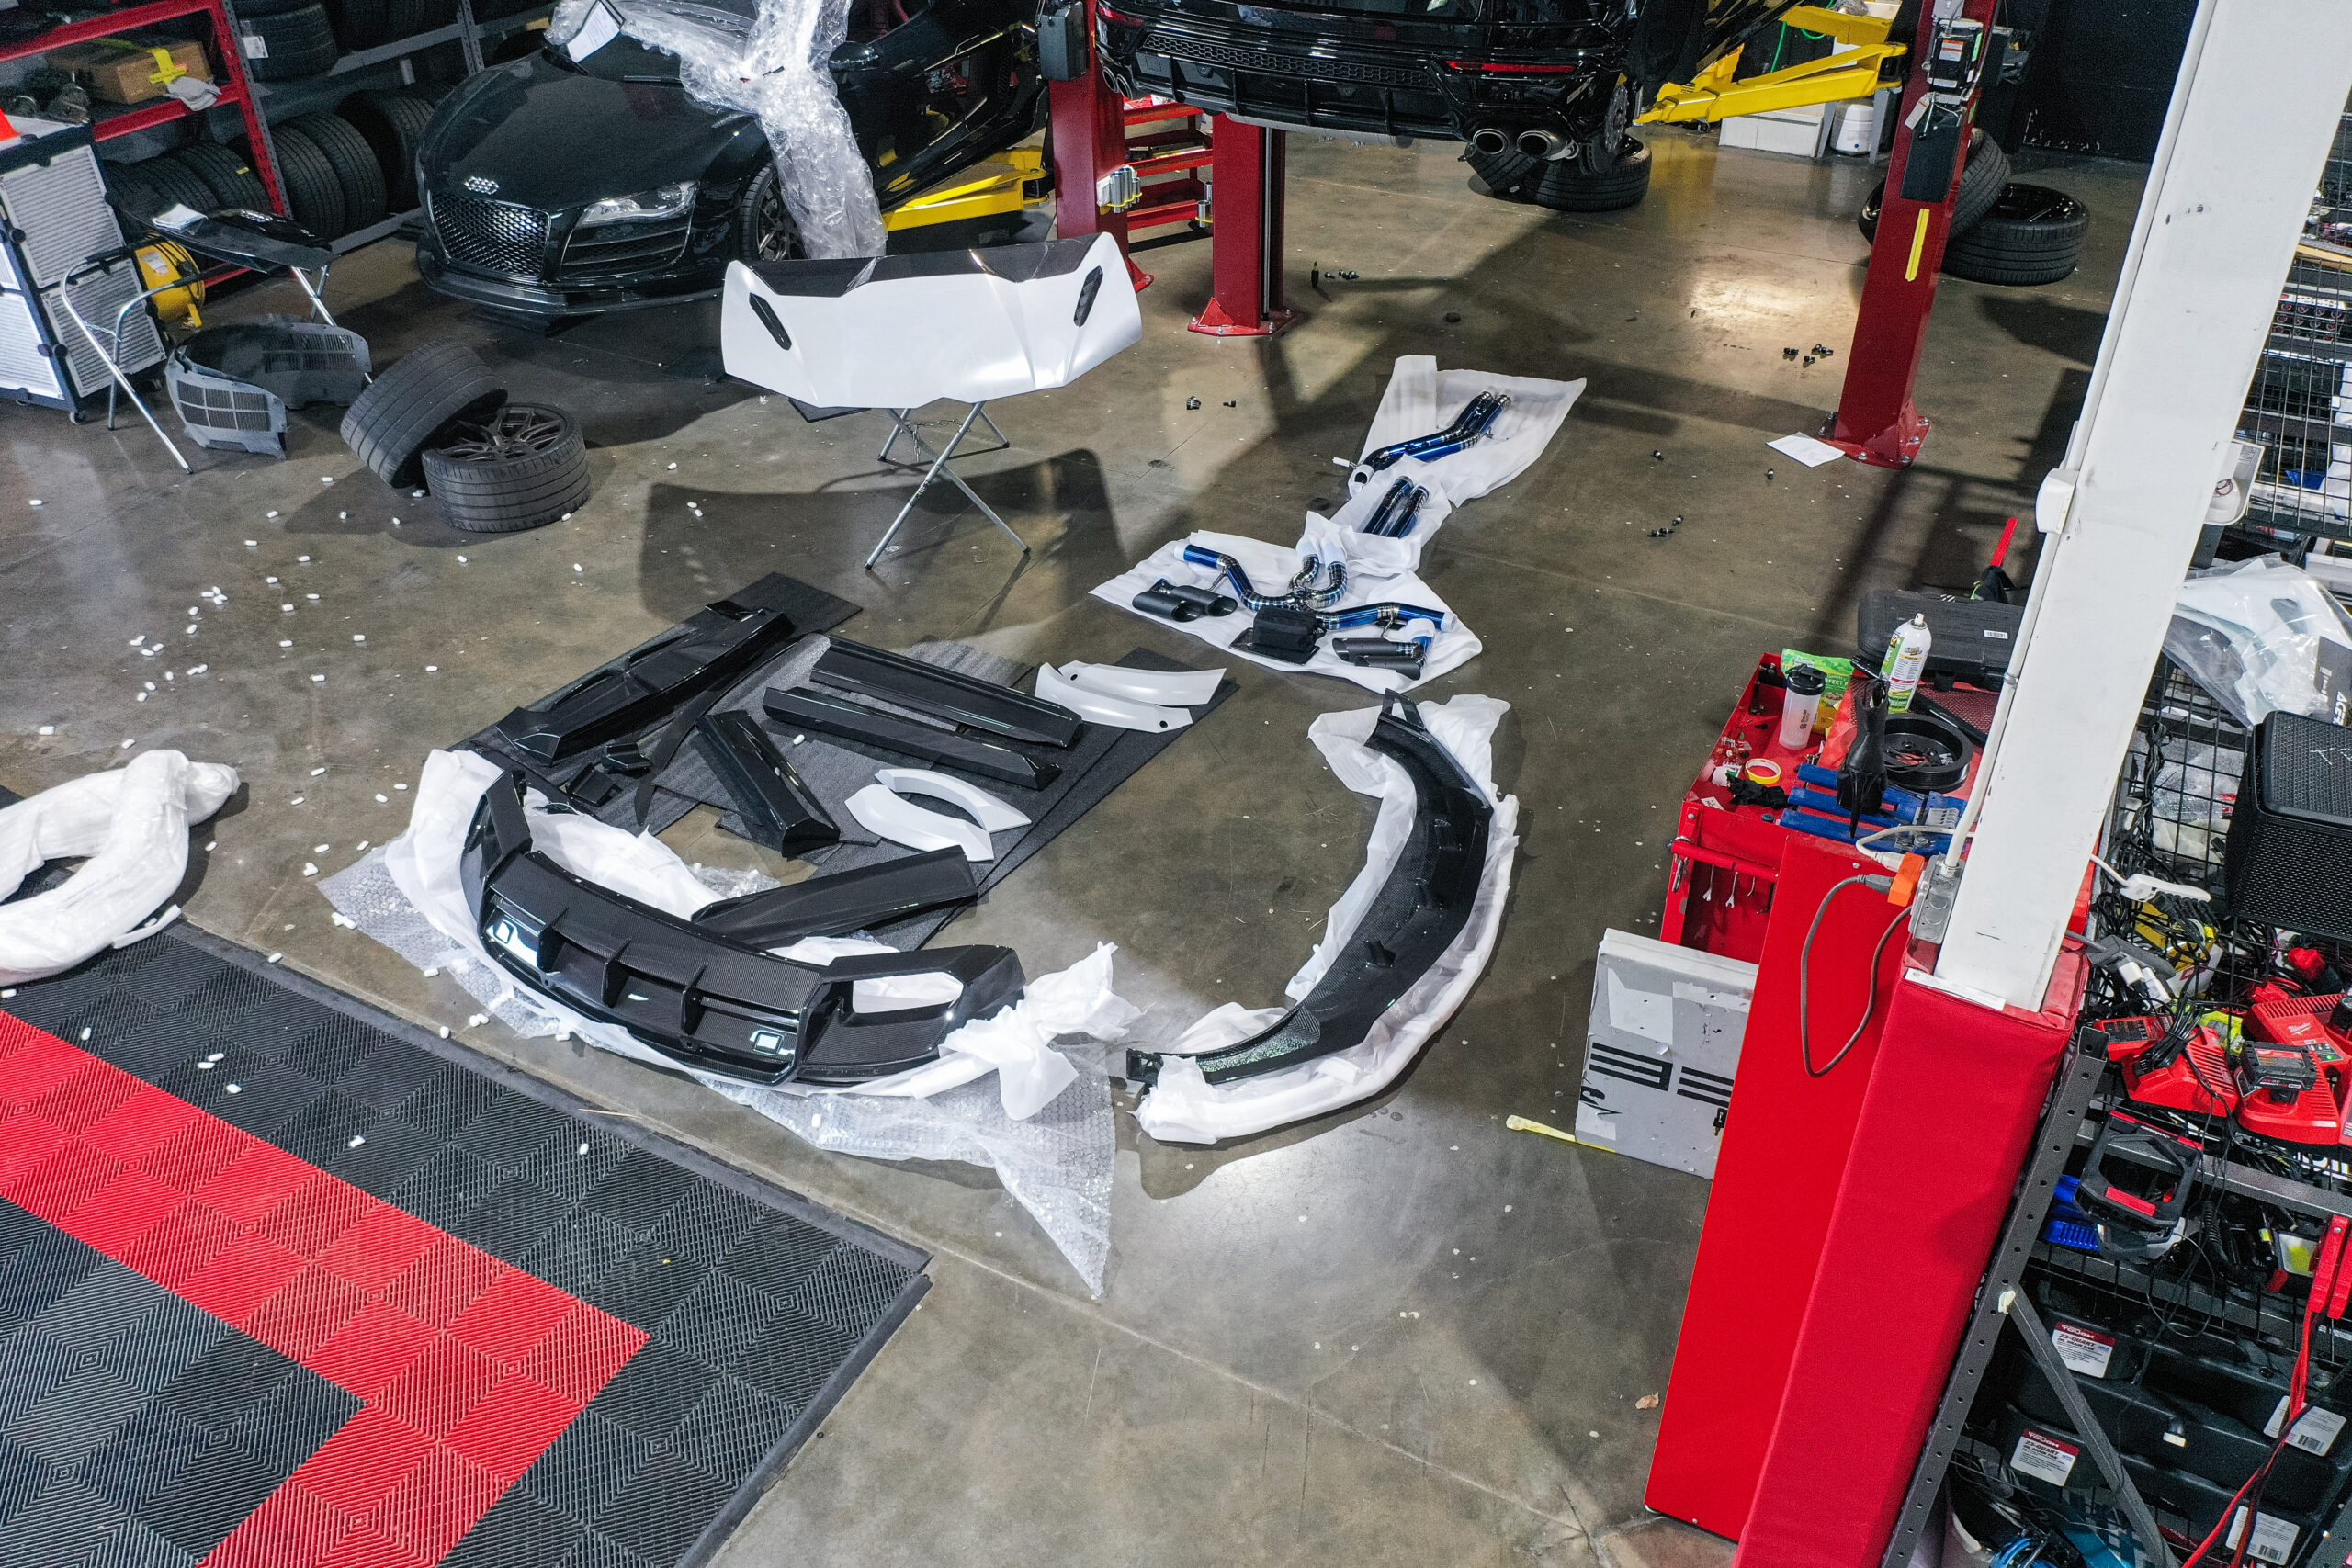
Painting Process:
Some elements like the hood and fender flares arrived primered but not painted. We sent these parts to a trusted painter to apply a pearlescent black finish, insuring a seamless match with the Urus’s original color. This step was crucial for maintaining the visual flow of the vehicle’s design.
Installation of Replacement Panels:
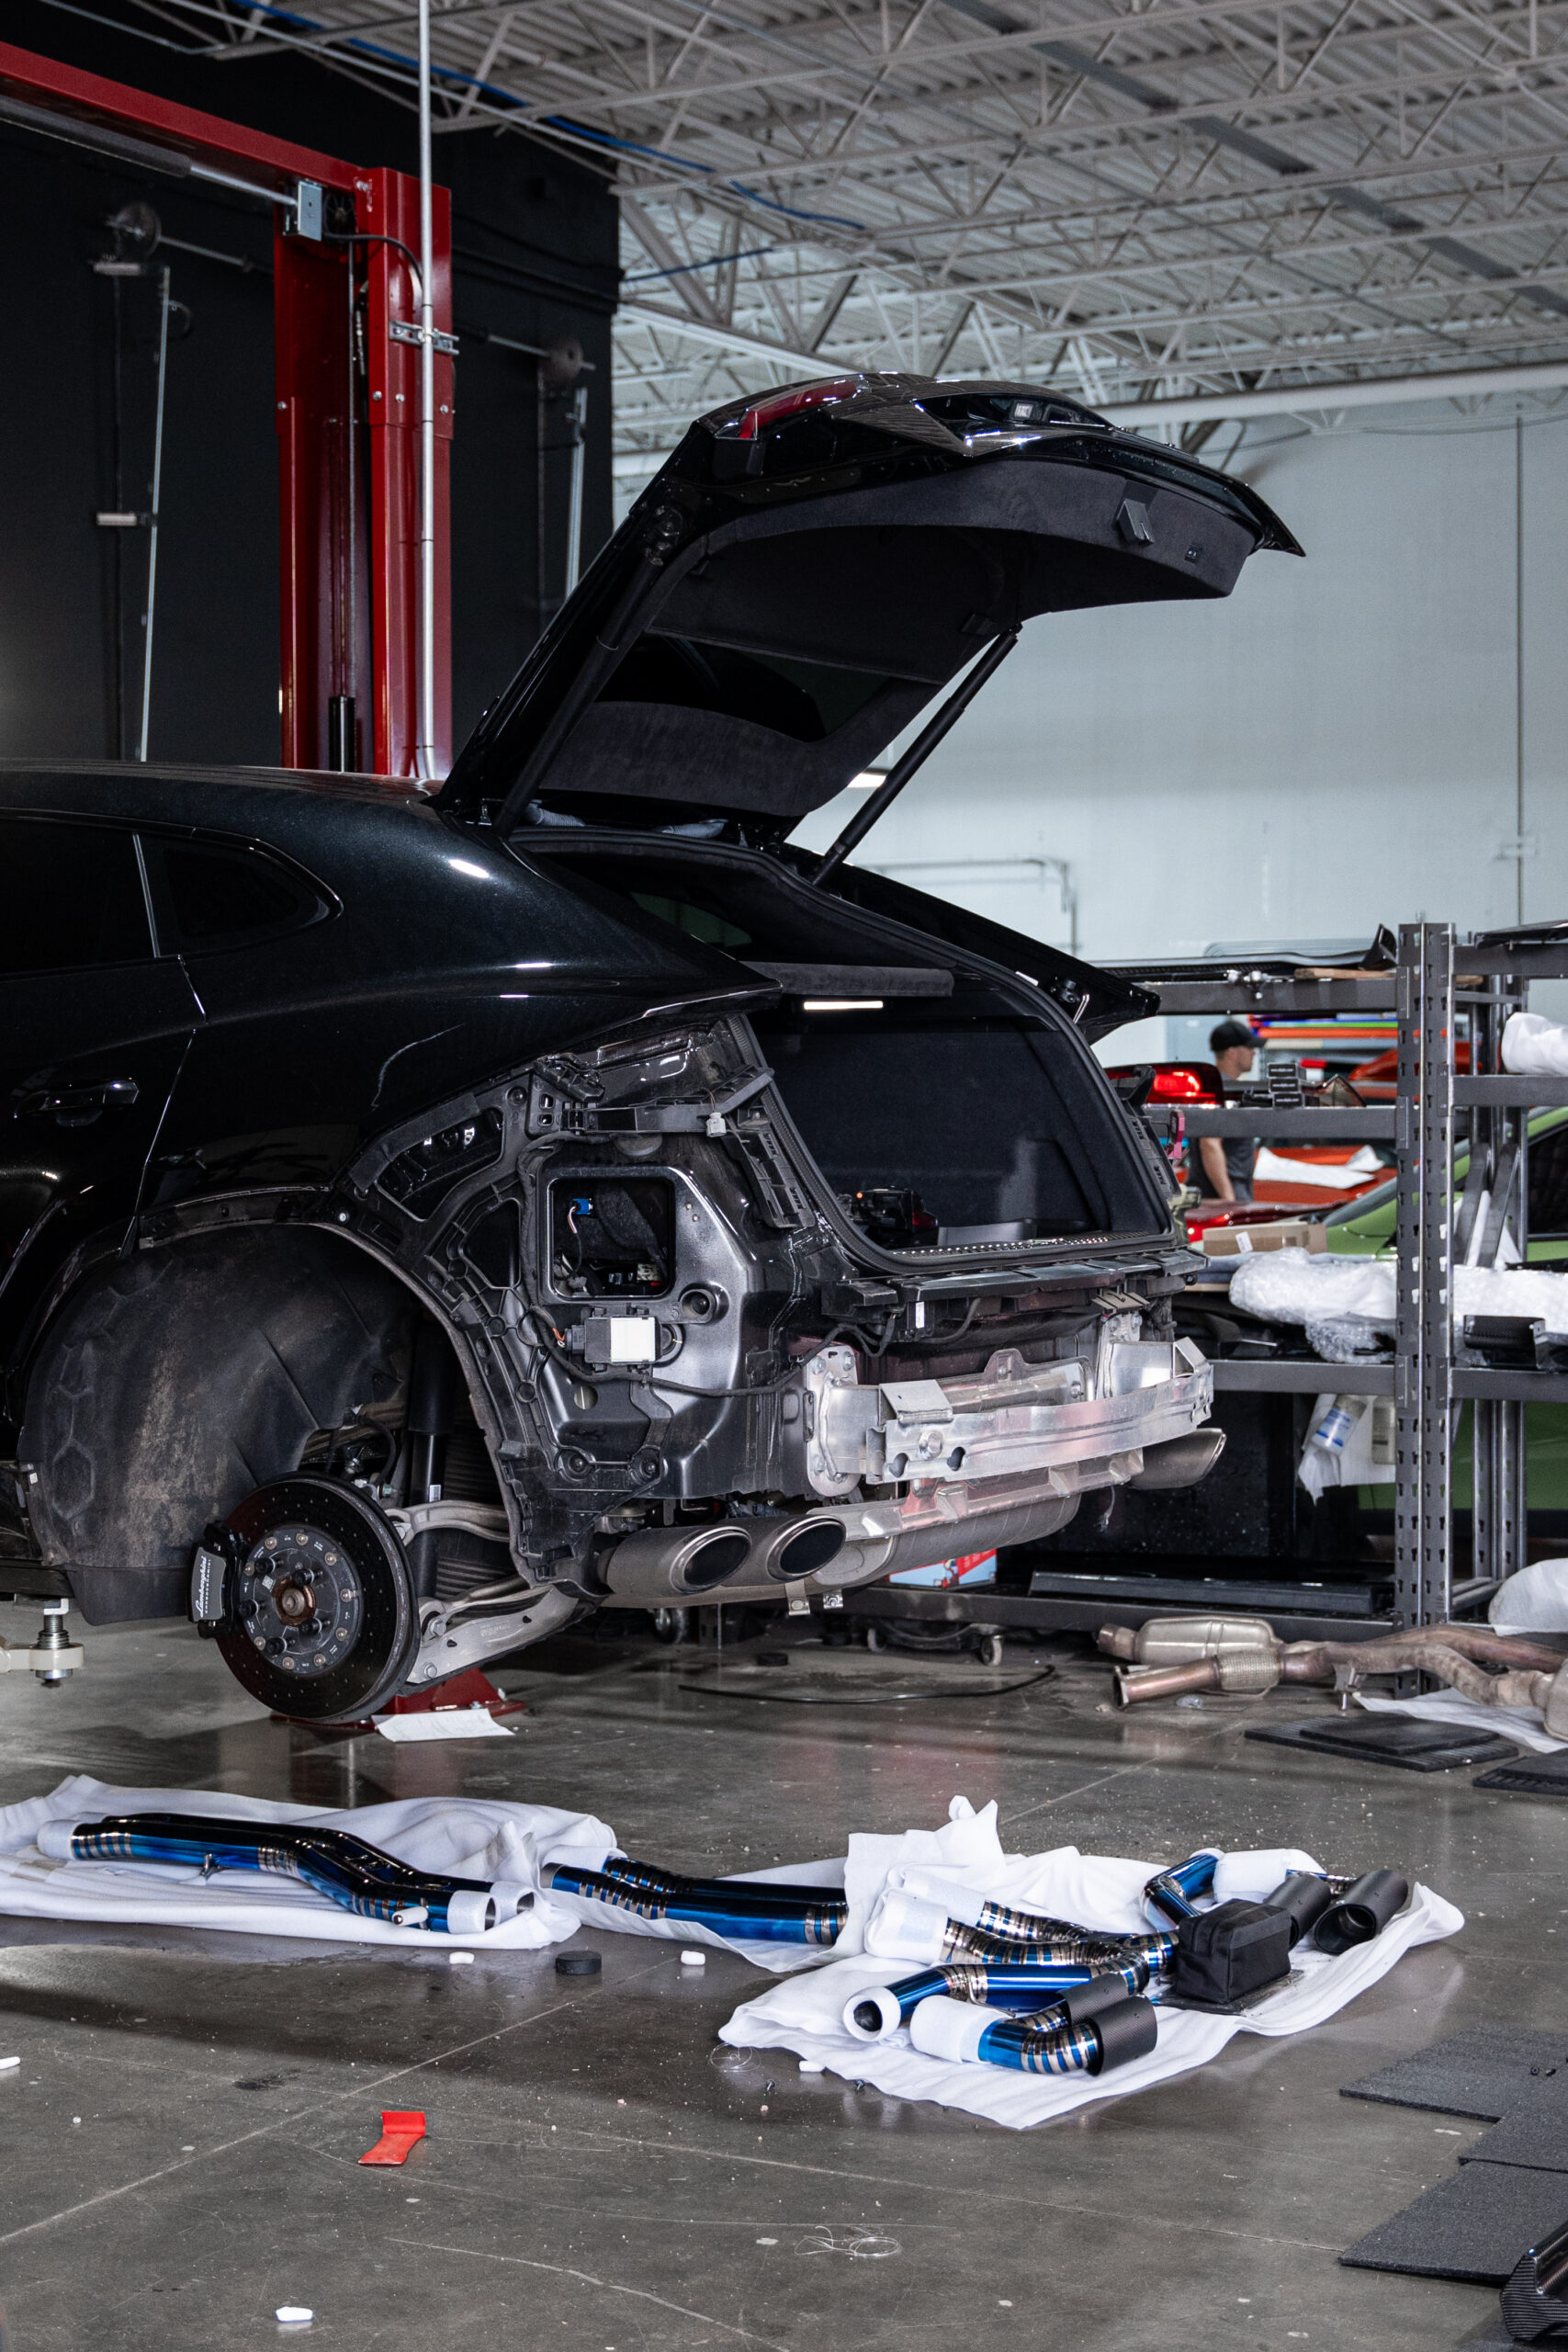
The installation of the Ryft carbon fiber rear diffuser and side skirts required us to first remove the factory panels. This step was delicate; ensuring no damage to the vehicle’s original framework was paramount. Each replacement panel was then meticulously aligned and secured, giving the Urus a much more aggressive stance.
Step 2: Wheel Enhancement
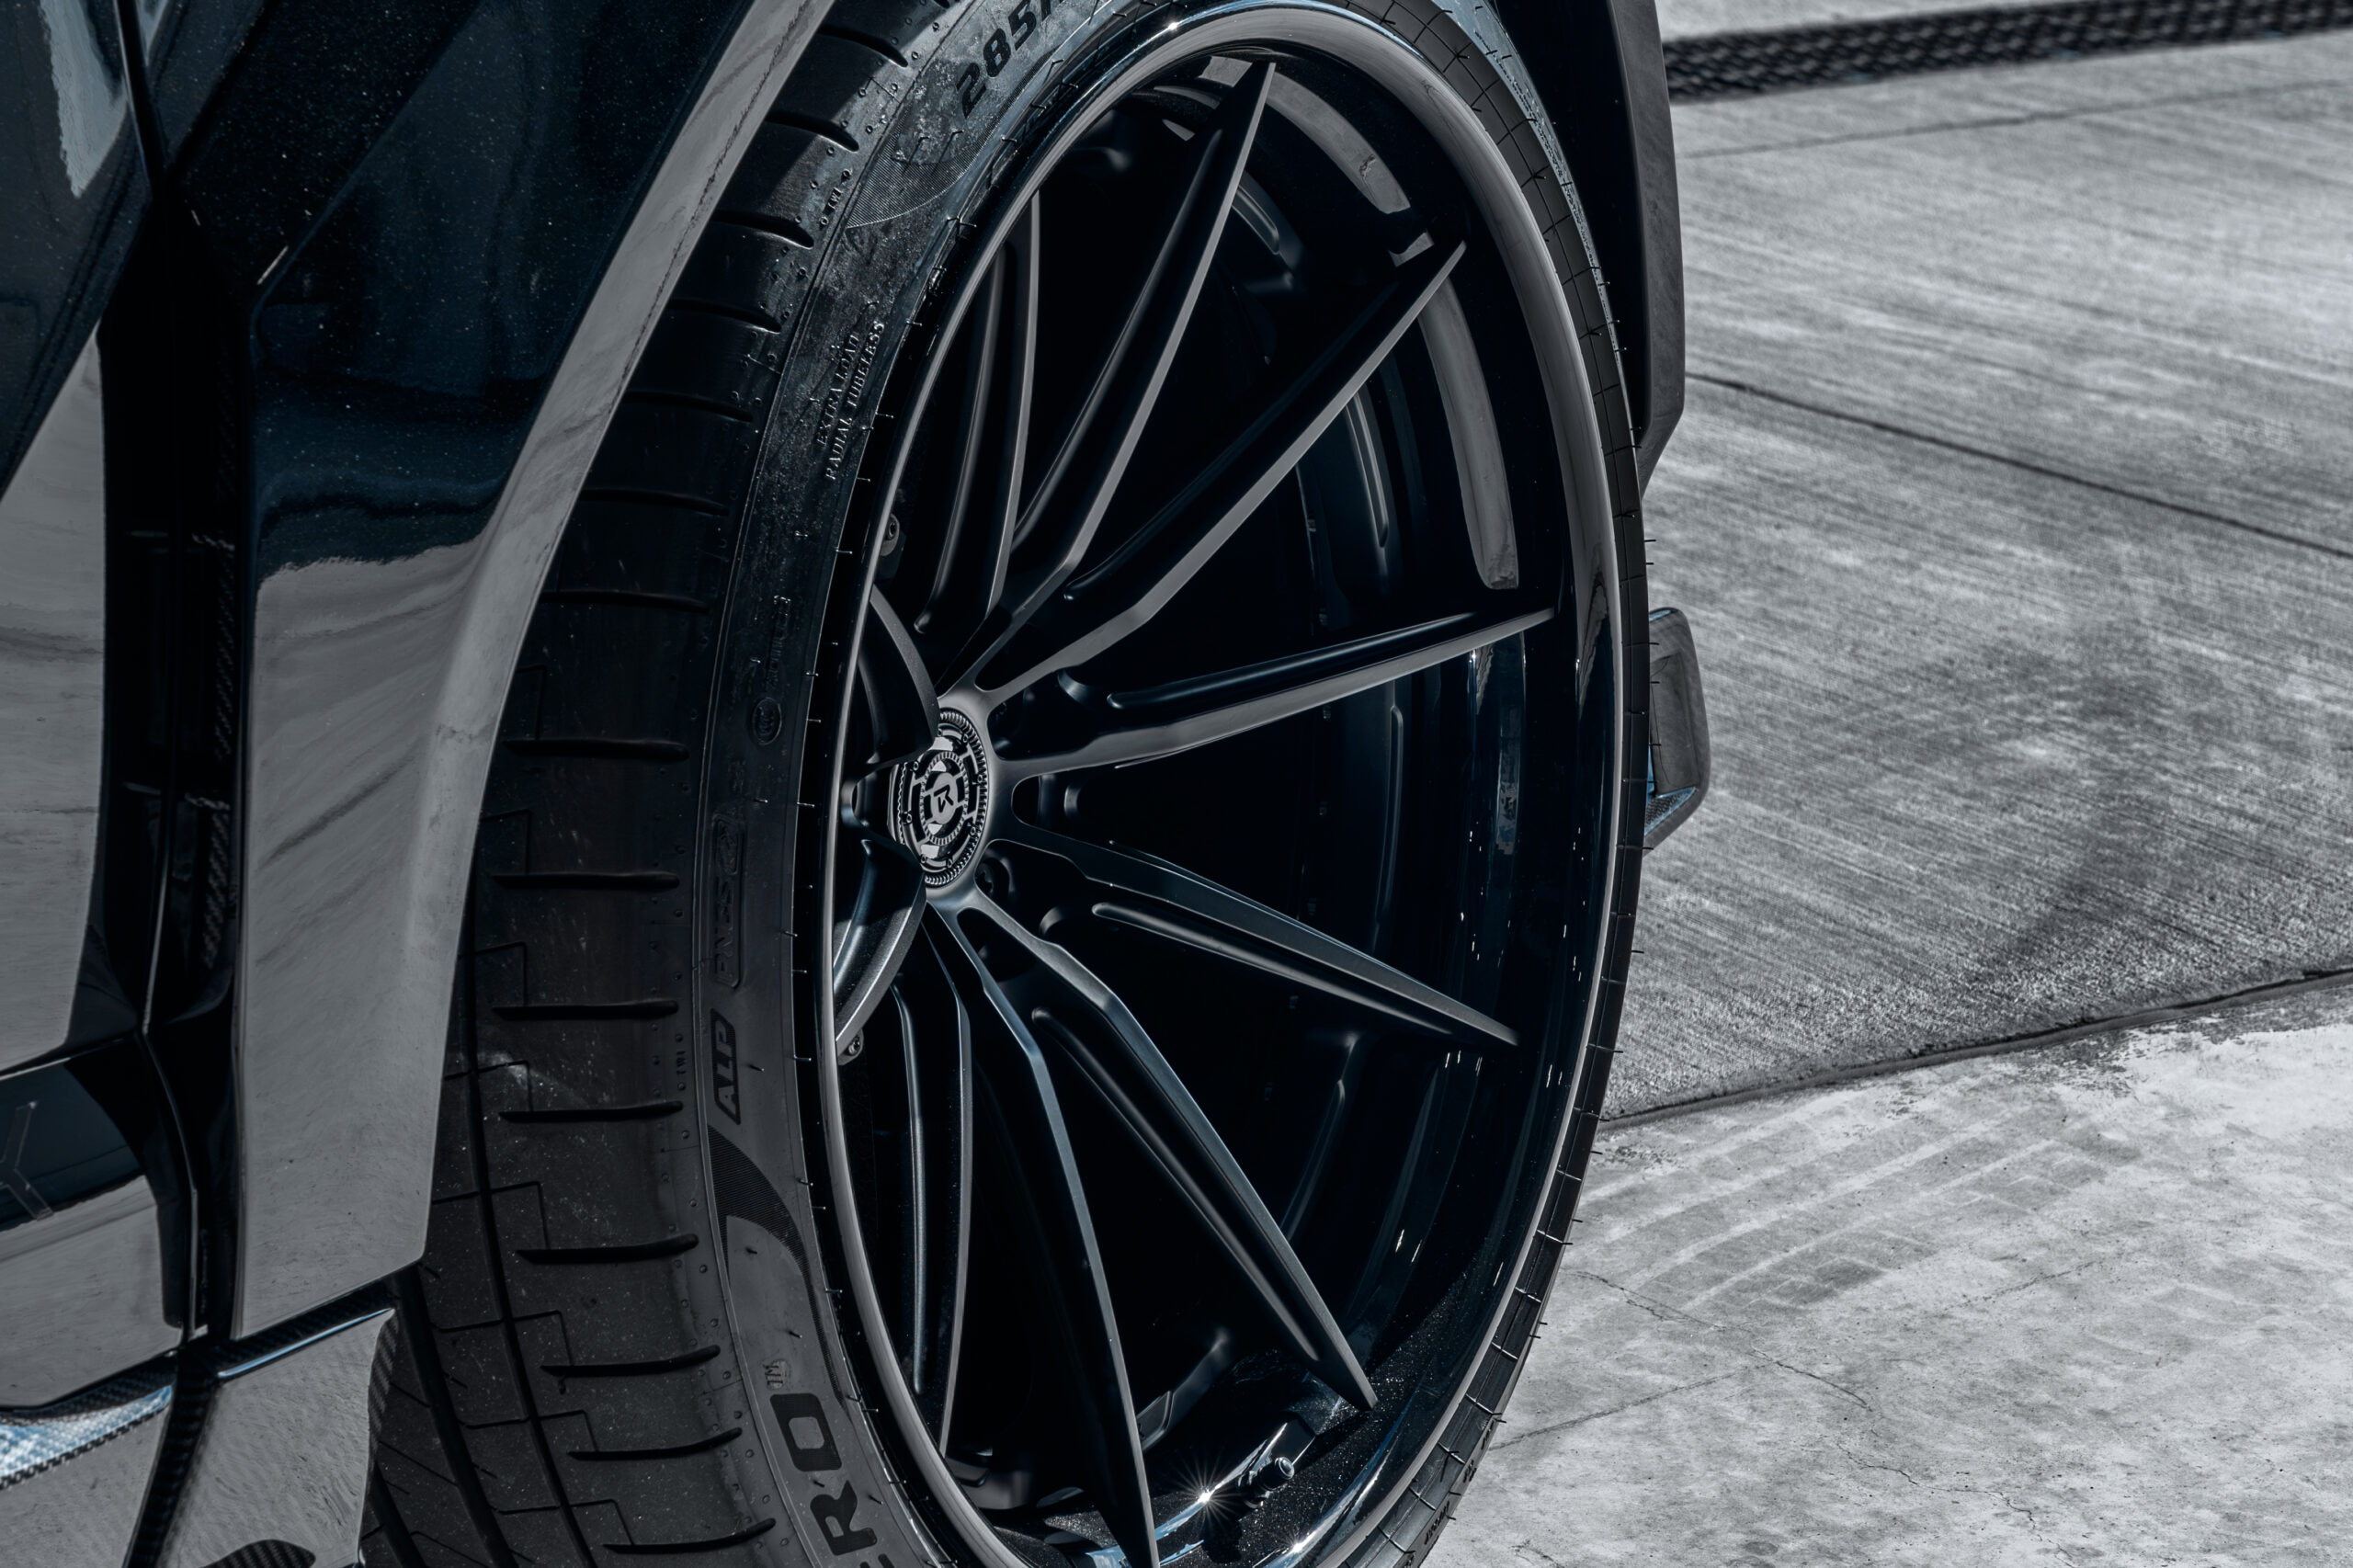
Next, we moved on to the wheels. In collaboration with AL13 Wheels, Ryft designed some stunning deep dish wheels that perfectly complemented the wider, more assertive look of the Urus. Mounting, balancing, and installing these wheels were done with precision, enhancing not only the car’s appearance but also its road-handling capabilities.
Step 3: Exhaust System Overhaul
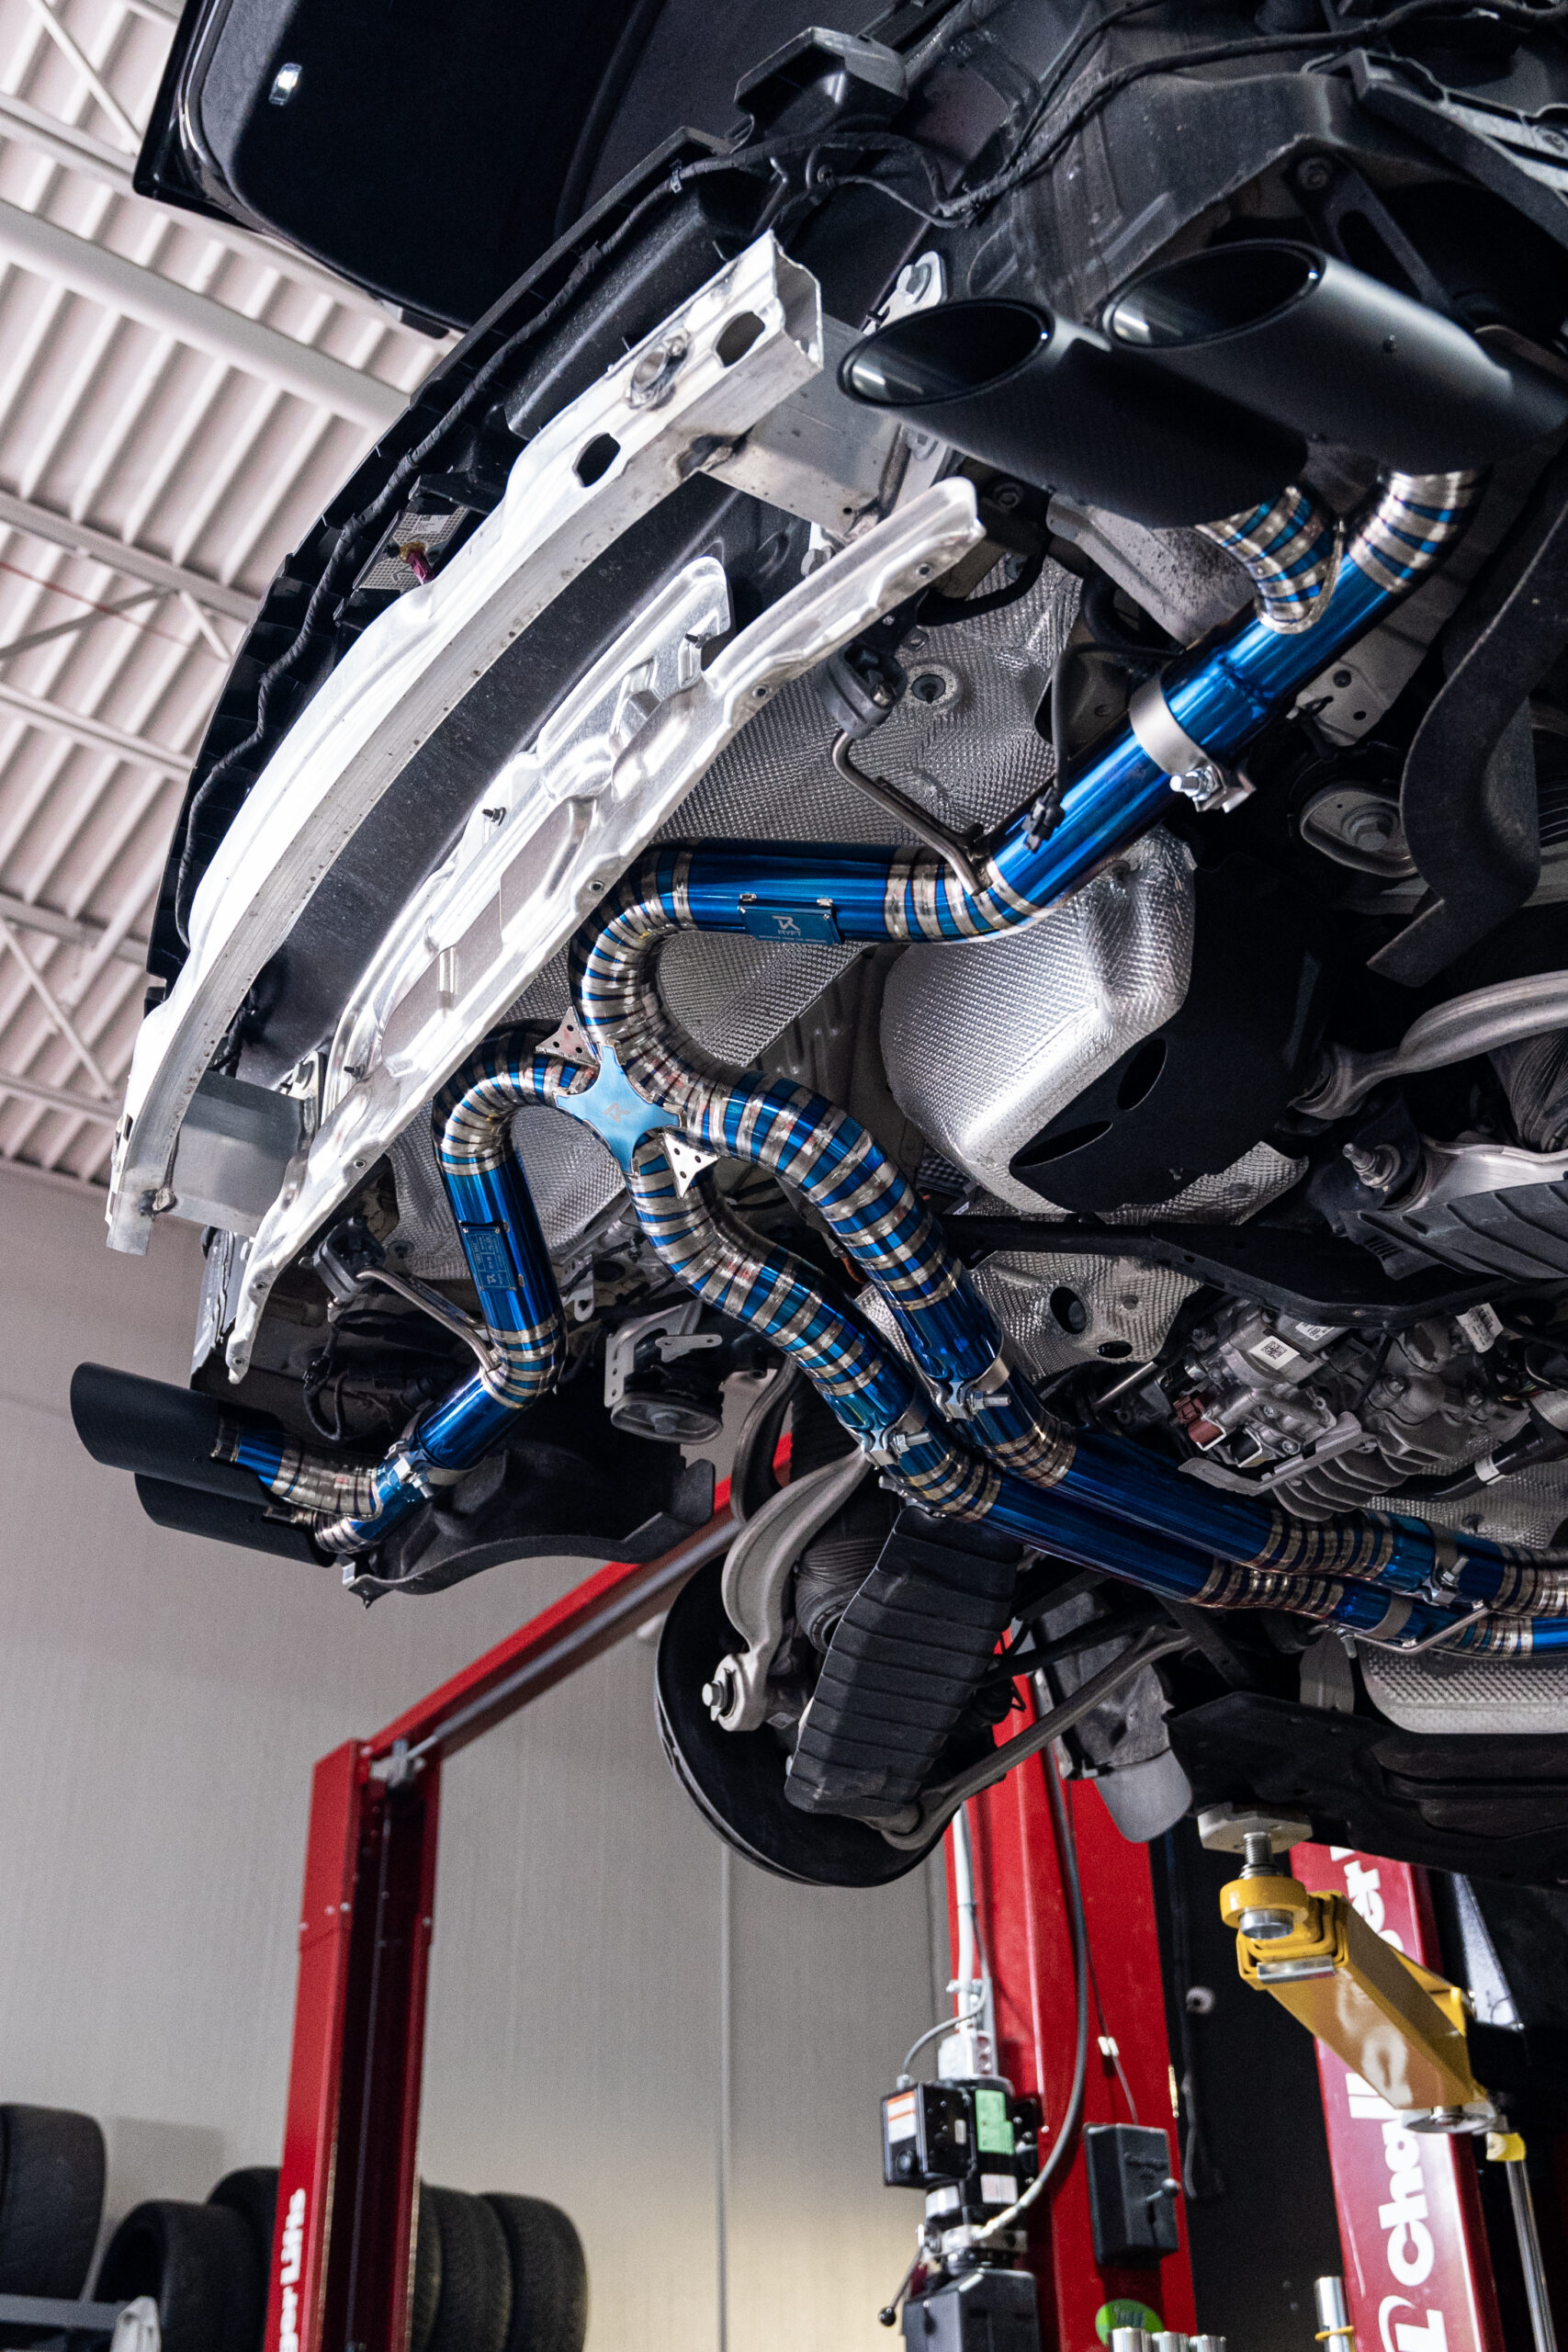
No performance upgrade is complete without tweaking the sound and response of the exhaust. We installed a Ryft-designed exhaust system that not only deepened the growl of the Urus but also improved exhaust flow and, consequently, slightly boosted the engine performance.
Step 4: Targeted Paint Protection Film (PPF) Application
While the Urus came to us with existing bumper-to-bumper PPF that we didn’t install, the new components needed their own shield against the elements and road debris. We applied PPF meticulously to the newly installed front lip, fender flares, rear diffuser, and side skirts. Special attention was given to areas most susceptible to damage, like the wide fender flares which are prone to catching debris from the tires.
Step 5: Ceramic Coating for the Finishing Touch
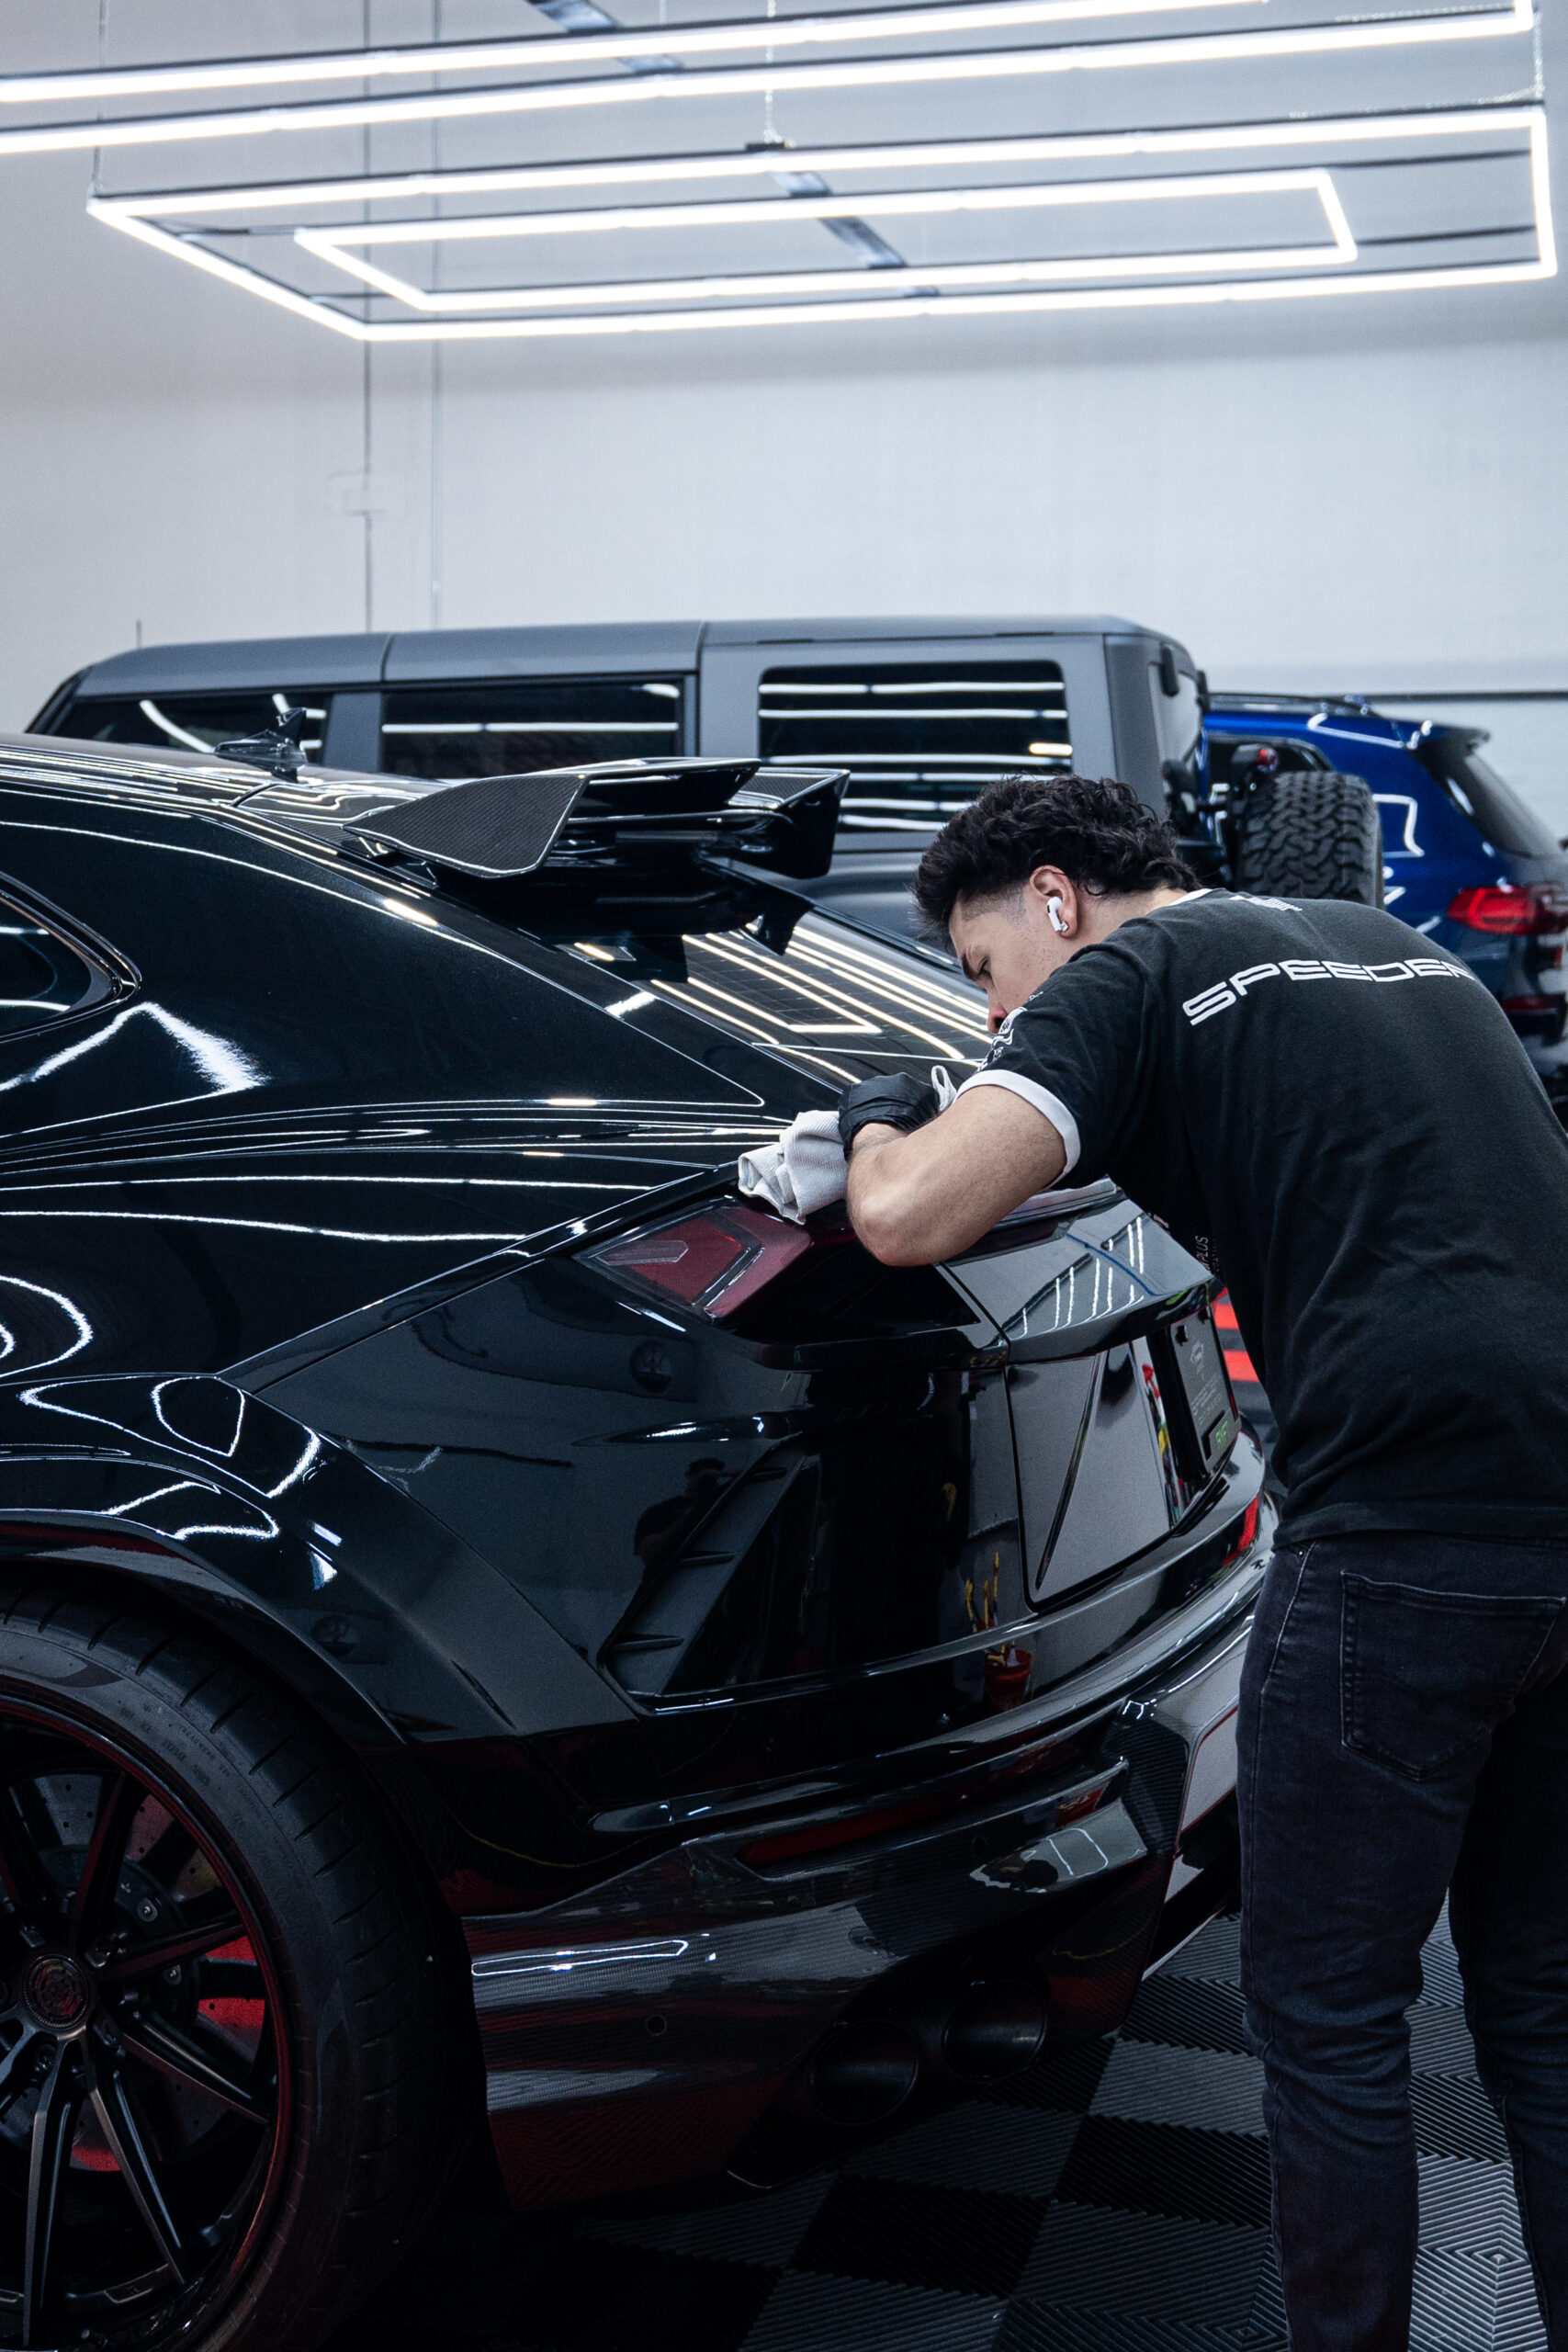
To finalize the project and ensure every inch of the Urus was protected and glossed to perfection, we applied a ceramic coating. This not only added an extra layer of protection over the new PPF but also made the entire vehicle easier to clean, maintaining that new-car sheen with minimal effort.
